How to remove mould from grout
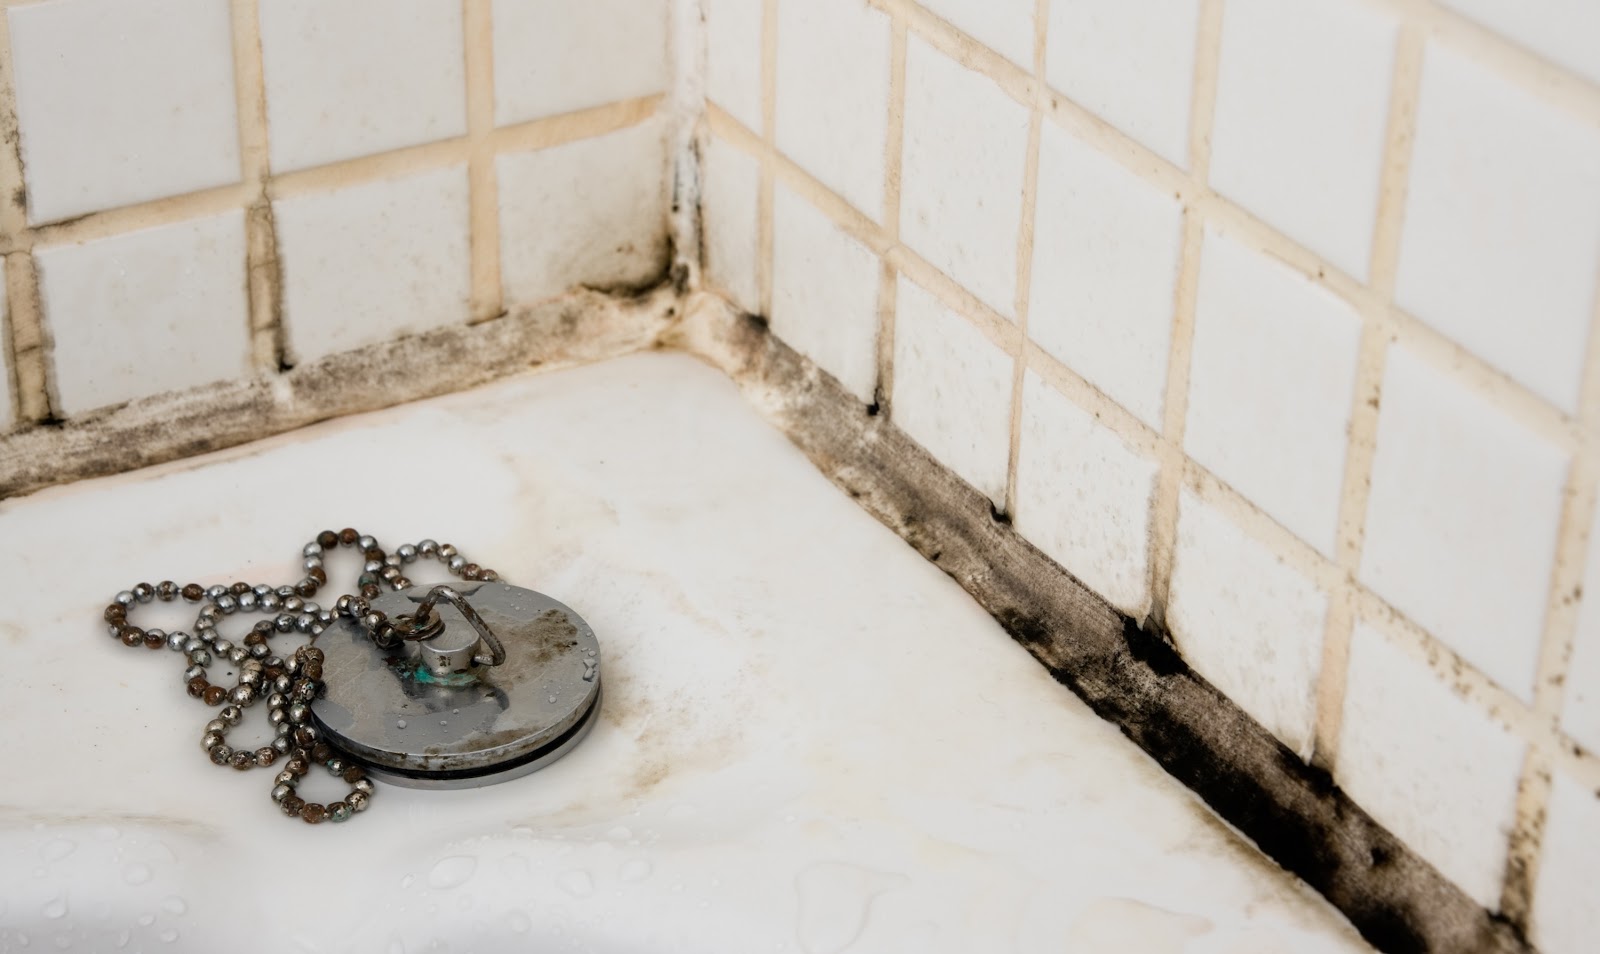
It’s a fact of life that mould thrives in warm, moist conditions. This makes kitchens, bathrooms, basements and utility rooms prime locations for the development of mould. With moisture and humidity levels often high in these rooms, and air circulation limited, the presence of mould on plastered walls, ceilings and window sills is common. However, thanks to its porous nature, tile grout is where mould is most often located.
When allowed to build up on your bathroom or kitchen grout, mould not only ruins the aesthetic of any room, making it look unclean and unkempt, it also poses a serious health risk to you and your family. But what actually is mould, how can you remove it from your grout and is there a method of preventing it from growing in your home in the future?
What is mould and how can it affect you?
Common bathroom and kitchen mould, also known as black mould, refers to several different species of fungi that thrive in warm, moist environments. The most common species is Stachybotrys chartarum, which can spread through an entire room very quickly – typically within 24 to 48 hours. Beginning to grow as soon as its spores land on a damp material such as plaster, drywall or grout, it colonises in under two weeks and can grow in size at a rate of one square inch per day.
Characterised by a distinct musty damp smell and dark green/black colour, these types of mould are not harmful in themselves, but can release dangerous toxins into the surrounding room. Breathing in these toxins can cause a number of different health issues, including respiratory problems and asthma attacks for those who suffer with this ailment. If you are exposed to this mould for a long period of time, you become increasingly at risk of developing black mould poisoning. Symptoms mirror that of a common cold and include coughing, breathlessness, a sore throat, a runny nose and even nosebleeds. Unsurprisingly, people who suffer with lung disease or a weakened immune system tend to have a higher risk of being directly affected by these toxins.
How to get rid of grout mould
Fortunately, there are several methods for removing the mould between your tiles. A number of different chemical and natural cleaning agents can be used to get rid of mould, but it’s important to remember that when using these products, you should always work in a well-ventilated area, ideally with an open window. It’s also vital that you wear rubber gloves to protect your skin and goggles to safeguard your eyes from any potential splashback.
Bleach
The most common method of removing mould from grout is through the use of regular domestic bleach. Ensuring you’re wearing a mask to keep you from inhaling any toxic fumes, this method involves scrubbing bleach directly onto mouldy areas of your grouting using a stiff bristle brush or old toothbrush. Let this sit for at least half an hour, keeping the room well ventilated while you wait, before rinsing with warm water. But be aware that you should avoid this bleach method if you have coloured grout, as this could cause discolouring.
White vinegar
For coloured grouts, vinegar is a great natural cleaning agent that won’t damage your tiles or grouting. Using a spray bottle, cover any mouldy areas of grout with undiluted white vinegar. If you don’t have a spray bottle, don’t worry – you can also apply the vinegar with a cloth. Simply let the vinegar sit for an hour before rinsing with warm water and repeat if needed.
Baking soda paste
If the bleach or vinegar methods aren’t for you, why not try baking soda? Simply mix together half a cup of baking soda with four teaspoons of water until it forms a spreadable paste. Apply this paste directly to areas of mouldy grout and let it sit for 15 minutes. Finally, scrub the mould away with an old toothbrush and rinse with warm water.
How to whiten grout
Even after a comprehensive clean using chemical and natural cleaning agents, it’s common for white grout to still appear stained, damaged and cracked – particularly after the removal of black mould. While the repeated use of bleach, vinegar or baking soda should eventually yield results when it comes to whitening, once all mould has been removed, there are easy methods of getting your grout to gleam again.
In recent years, the practice of painting your grout with a special grout paint has become increasingly popular. This grout paint, or ‘ink’ as it is sometimes known, is designed not only to paint over stained areas of grout, instantly improving the aesthetic of any tiled room, it also helps to prevent mould from returning thanks to anti-fungal and water-resistant properties.
Ideal for tiled floors and large tiled walls, applying grout paint is a simple process and can restore the original look of your grout in no time. Before painting, it is vital to thoroughly clean your tiles and grout, ensuring no mould or mildew remains attached. Using masking tape to prevent paint overlapping onto your tiles, apply the paint using a bush almost exactly the width of the grout line itself. If your brush is too small, you’ll end up creating more work for yourself, but if it’s too large, you run the risk of splattering paint on the tiles.
For smaller areas of grout, why not use a grout pen? Available with a range of different sized nibs, these are great for touching-up dirty-looking or discoloured areas of grout, helping to protect it against future outbreaks of mould, without the need to buy a full pot of paint.
Using a grout pen could not be easier. Simply press the nib of the pen firmly down onto the area of grout you wish to whiten, and slide the pen gently in the direction of the grout. Be sure to begin at the side which corresponds with your dominant hand to avoid potential smudging and keep a damp cloth handy to mop up any paint that strays onto the tiles. Leave an initial coat of paint to dry for an hour before applying a second coat. Once this second coat has dried, your grout should look as good as new.
Keeping your grout white and removing mould from your bathroom or kitchen can be tricky to do, but with the methods outlined above, hopefully ensuring your grout remains mould-free and looking at its very best should have just got that little bit easier.
