Grout Reviver on a Budget: My DIY Transformation with Rainbow’s Groutin
Transforming a bathroom doesn’t always require a full renovation. Sometimes, it’s the small changes that make the biggest difference. This was exactly the case with my latest DIY project, where I tackled discolored and mouldy grout that had long been an eyesore in my otherwise serene bathroom. Here’s how I did it with Groutin, an anti-mould grout reviver from Rainbow Chalk, and the entire project cost me less than £15 and just a couple of hours of my time.
The Embarrassing Before
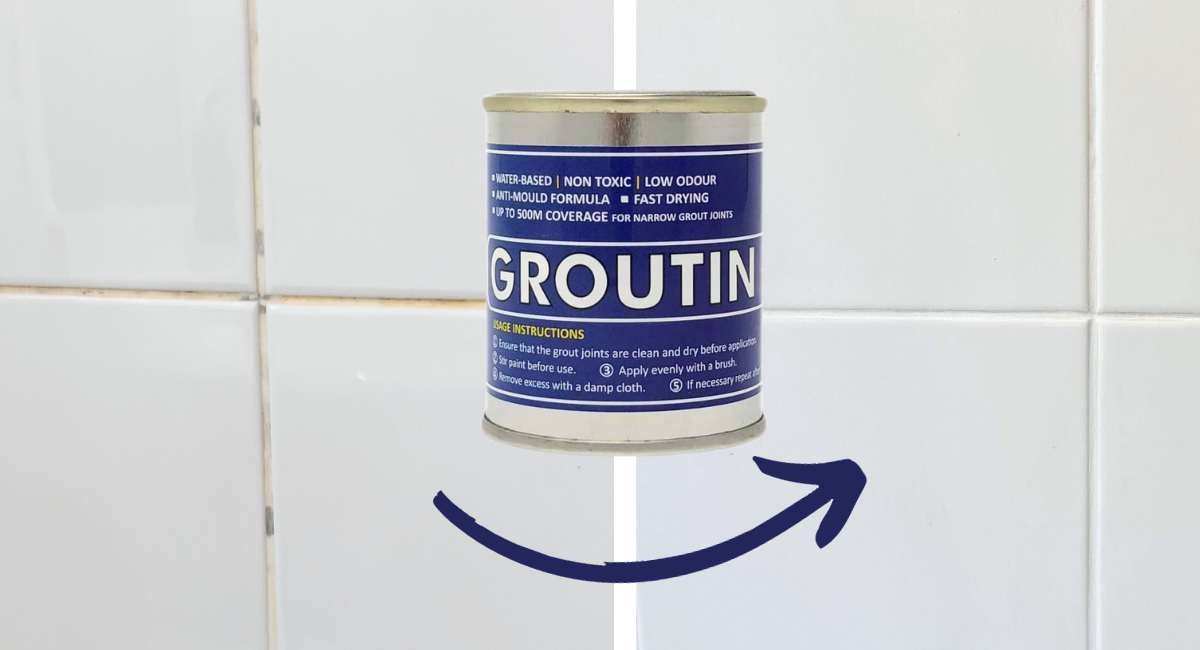
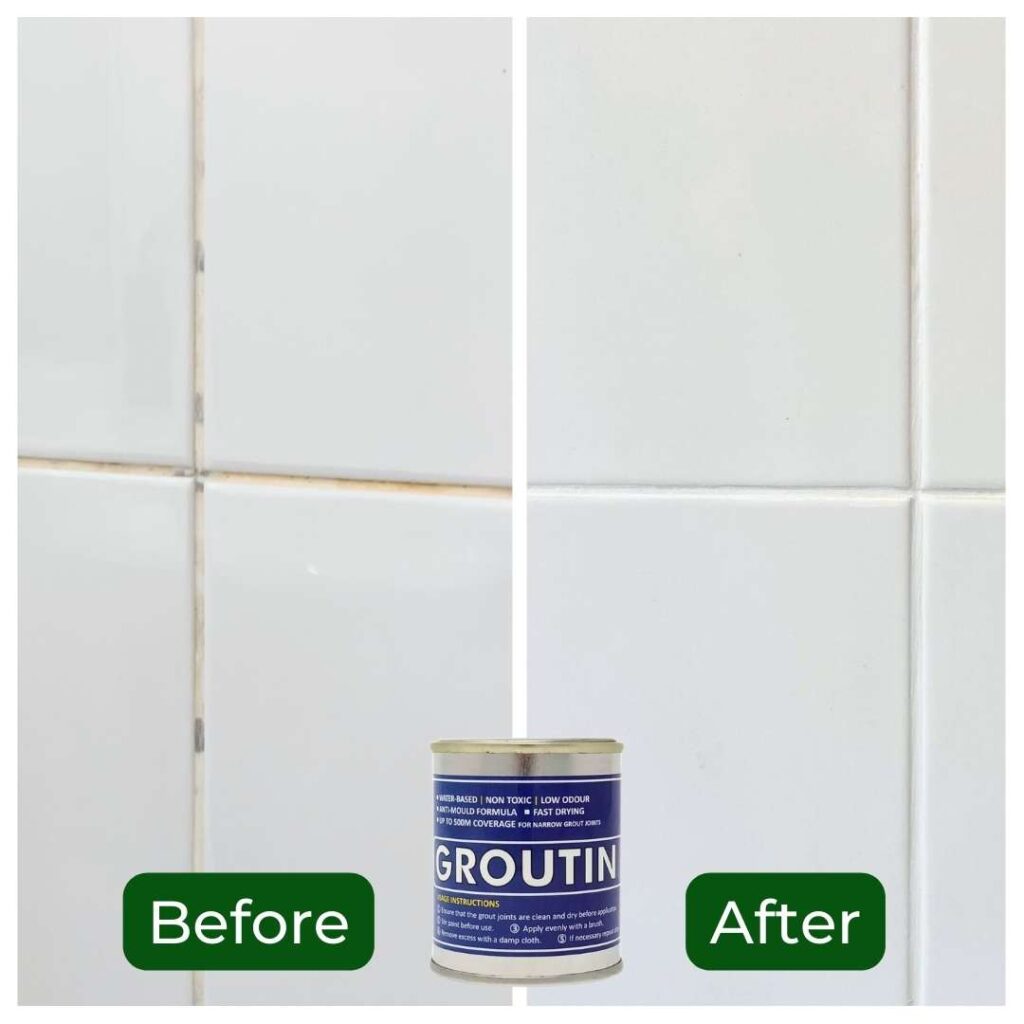
Let’s set the scene: the grout was in a sorry state, discolored from hard water stains and mould. It was embarrassing, to say the least. The thought of guests noticing it made me cringe, and it was far from the relaxing vibe you want when you’re trying to unwind in the bath. I needed a fix, and I needed it to be easy, effective, and economical.
Finding the Magic Solution
I discovered Groutin Grout Reviver from Rainbow Chalk and was immediately intrigued by its promise and affordable price. I ordered online, and to my delight, the delivery was speedy. With Groutin in hand, I ventured to a local craft shop and picked up a selection of cheap paintbrushes. The stage was set for transformation.
Prepping the Canvas
Before the magic could happen, I had to deal with the grimy reality. I scrubbed the grout lines to remove any loose debris and surface mould. This step was crucial to ensure the Groutin would adhere properly and give me that fresh, clean look I was after.
Mixing the Potion
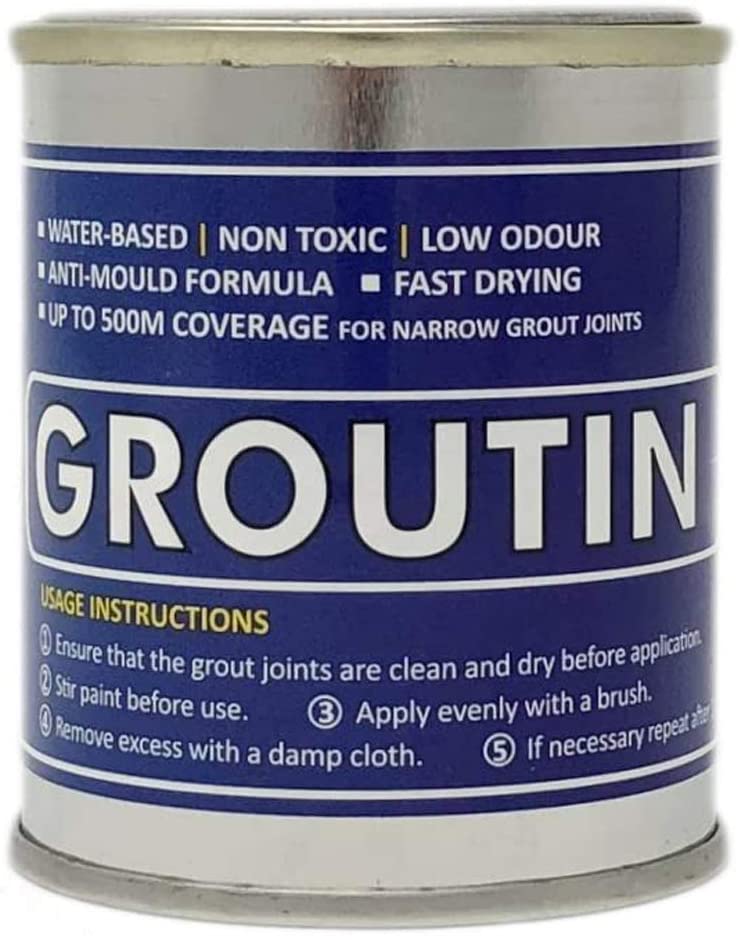
Following the instructions, I gave the tin of Groutin a good shake to mix the formula thoroughly. This special formula, designed to restore grout to its former glory, is not only anti-mould but also waterproof and water-based, making it ideal for areas with high moisture – like my bathroom.
Painting Over the Problems
Using small amounts on a paintbrush, I applied swift strokes along the grout lines. I worked in sections, taking care to cover every bit of the discolored grout. The formula’s consistency was perfect, not too thick , making it easy to apply without going ‘gloopy’.
The Transformation Begins
After the first coat, I could already see a massive difference. The brilliant white color was covering up years of neglect and embarrassment. But for optimal results, I let it dry for 12 hours before applying a second coat.
The Astonishing After
The second coat sealed the deal. My grout was brilliantly white, clean, and fresh. It was as if I had stepped into a new bathroom. The sense of relief and pride was immense. I had eradicated the mould, covered the stains, and all it took was a simple application of Groutin.
After the project, I still had three-quarters of a tin left. Groutin’s coverage exceeded my expectations. It’s comforting to know I have enough left for touch-ups or to freshen up other areas in the house.
The Miracle Groutin Formula
Now, let’s talk about this special formula. Groutin’s paint is not just any paint – it’s a specialised grout reviver. It’s waterproof and anti-mould, making it the ideal solution for bathrooms and kitchens alike. The paint is designed to stick to your grout without dripping, providing a smooth and even finish that resists the growth of mould and mildew. With a water-based composition, it’s safe to use in enclosed spaces and doesn’t emit any harsh fumes. Plus, it’s incredibly durable, meaning those brilliant white grout lines are here to stay.
Conclusion
The transformation was undeniable, and the process was surprisingly simple. Groutin delivered on its promises, and the cost-benefit ratio was outstanding. For anyone looking to refresh their grout without breaking the bank or their back, Groutin is a must-have!
Get your Groutin Today!
Feeling inspired to tackle your own grout revival? Grab your tin of Groutin below and turn your grout from grim to gorgeous. Your bathroom will thank you, and your wallet will too!
And remember to send your before and after pictures to info@rainbowchalk.com or tag us on Instagram!

