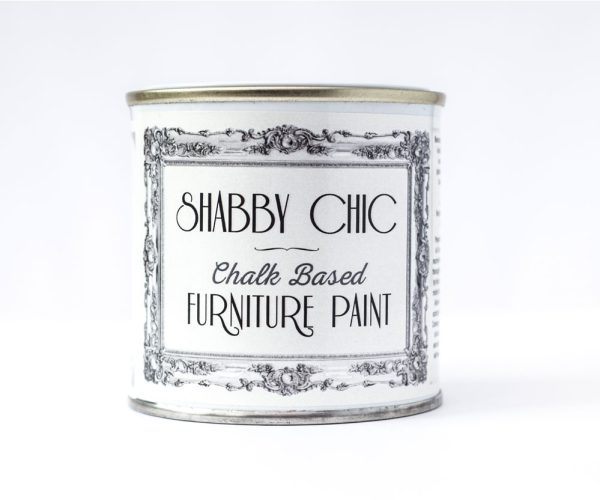
DIY Shabby Chic Chest Of Drawers With Chalk Paint!
If you’re reading this, you might have been disappointed by the price of a brand new Shabby Chic chest of drawers. We don’t blame you! Especially when you can upcycle your own furniture with a lick of chalk paint!
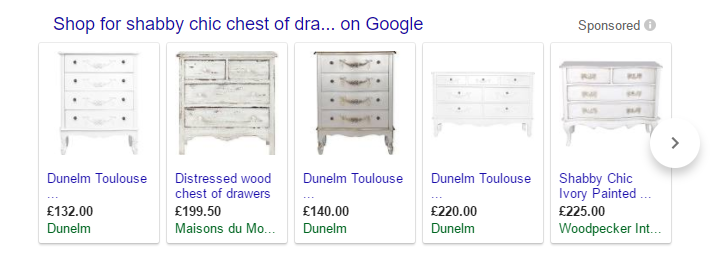 Why spend £100-200 and then an extra large delivery fee when you can spend £17.99 and, if you’re a first time buyer, get 10% off our Shabby Chic interior paint with our discount code, plus, we have you covered with the Shiply shipment services which are extremly affordable…
Read to the end to get your code!
How To Make Your Own Shabby Chic Chest Of Drawers
Sarah Williams, who upcycles furniture to sell with our Chalk Paint, sent in brilliant before and after pictures of her chest of drawers. Although they’re small – you can replicate the steps below to paint a large chest too!
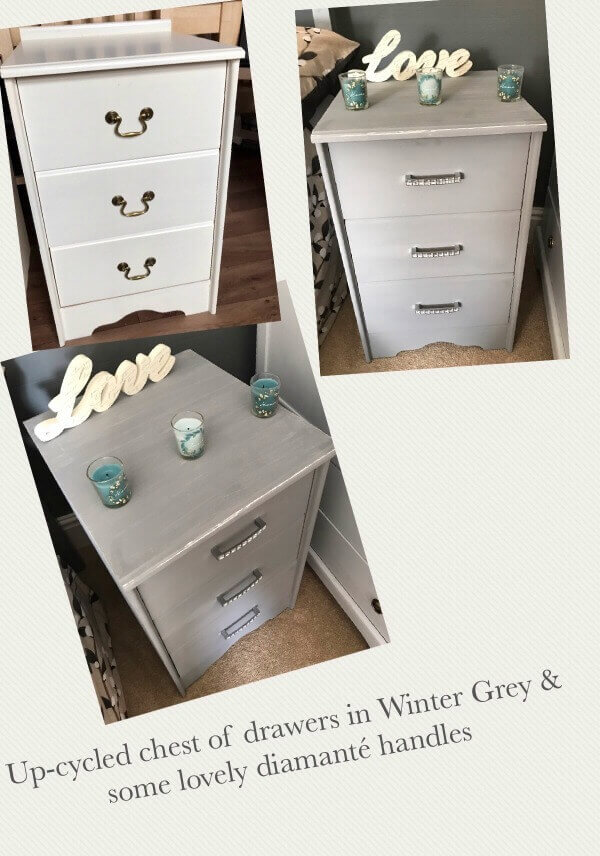
See the simple step by step process below and make your own Shabby Chic masterpiece just like Sarah!
Step 1 – Getting set up
Protect the surface you are working on with newspaper. If you’re working on the floor, it’s a good idea to tape the newspaper down to avoid it slipping around. You may also wish to remove the handles to avoid getting paint on them – or, if they are wooden and you wish to paint them, leave them as they are.
Step 2 – Get rid of the dirt and outline with masking tape
Wipe down with a slightly damp cloth to remove any dust and dirt and then leave to dry. If there are any parts that you wish to leave unpainted, now is a good time to use masking tape to outline these areas. For instance, you may wish to leave the top with a natural wood finish!
Step 3 – Start painting!
With Rainbow Chalk paint, you don’t need to use a primer. Our paint is richly pigmented so you can go right ahead and start to paint with your chosen colour. For some inspiration, take a look at our full matte and metallic colour chart here. Two or three coats may be required for the best coverage, depending on how large your item is.
Or, if you like the shabbier look, use one coat for a rustic finish that still shows the wood grain underneath!
Here’s a chest of drawers that were upcycled with our matte colour, Chalky White:
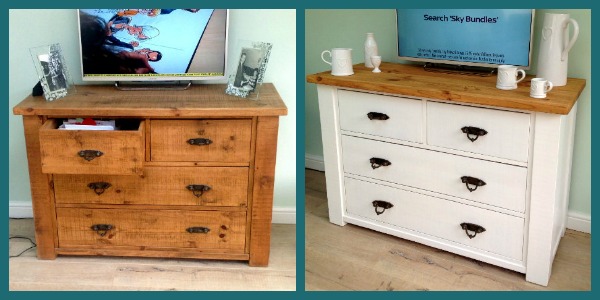
A wooden chest of drawers in the colour Chalky White
Or, if you’re wondering what a metallic Shabby Chic chest of drawers looks like, take a look at this example painted with our Antique Champagne Gold colour!
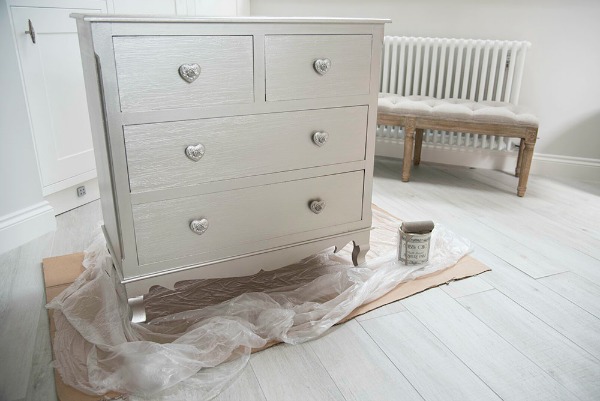
A Shabby Chic chest of drawers in the colour Antique Champagne Gold.
Step 4 – Leave to dry and remove masking tape
Once your item has had a few hours to thoroughly dry, remove any masking tape.
Step 5 – Distressing your drawers!
To make your Shabby Chic chest of drawers look truly authentic, you’ll want to distress them with sandpaper.
To do so, rub the edges and corners with a medium grade sandpaper to reveal the wood beneath. Remember to rub the areas that would naturally distress after years of use.
Once you have achieved your desired look, sand your distressed areas down with a softer sandpaper to help blend the paint away. This gives a more natural look.
Step 7 – Neaten up the distressed parts
Wipe with a dry cloth to remove any dust and excess paint and then stand back and view your piece. If you think it needs more distressing, go back in with the sandpaper and then repeat the last step, as well as this one, again.
Step 8 – Finishing touches
Now’s the time to re-attach your handles. Sarah decided to add some bling with silver diamantes!
Next, apply a thin layer of Rainbow’s uncoloured furniture wax all over the item, especially where the wood is exposed and then leave to dry.
Sarah’s Feedback:
Here’s what Sarah said about our paint:
“I’m so impressed with the product… I absolutely love it! It’s beautiful to work with and glides on just like cream!”
Feeling inspired?
This paint is perfect for your home DIY projects, just check out how this homeowner transformed her table with Rainbow Shabby Chic Furniture Paint!
Buy your Shabby Chic paint by clicking here, or add your matte / metallic paint directly to your basket from the product boxes below!
Scroll to the bottom of the page to see our full colour chart!
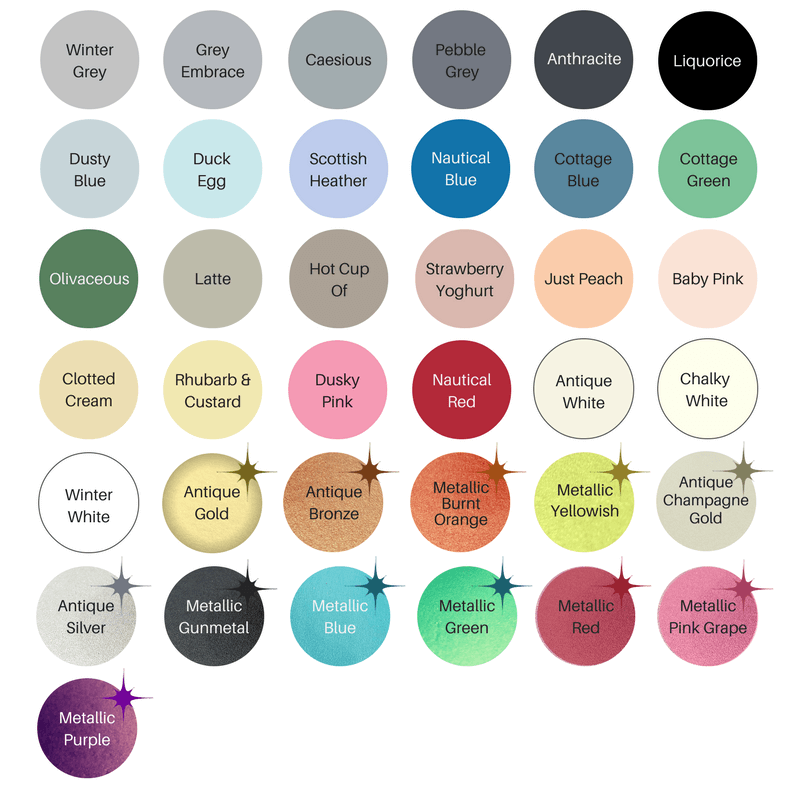
INTERIOR SHABBY CHIC PAINT COLOURS
