Four Unique Chair Transformations
Whether it’s your first project or hundredth project, very few things provide as much satisfaction as upcycling does. There’s nothing more rewarding than bringing old objects back to life with your very own hands!
One of our wonderful customers, Lauren, recently joined the world of upcycling. She decided to add a unique touch to her dining space, transforming not one, but four chairs. The results were so amazing that we couldn’t help but share with you all – let’s take a closer look.
Lauren’s One-Of-A-Kind Chairs
Lauren decided to take on the challenge of upcycling all four of her wooden dining chairs. She used a few different colours of our Shabby Chic Furniture Paint to create a stunning combination that we’ve never seen before.
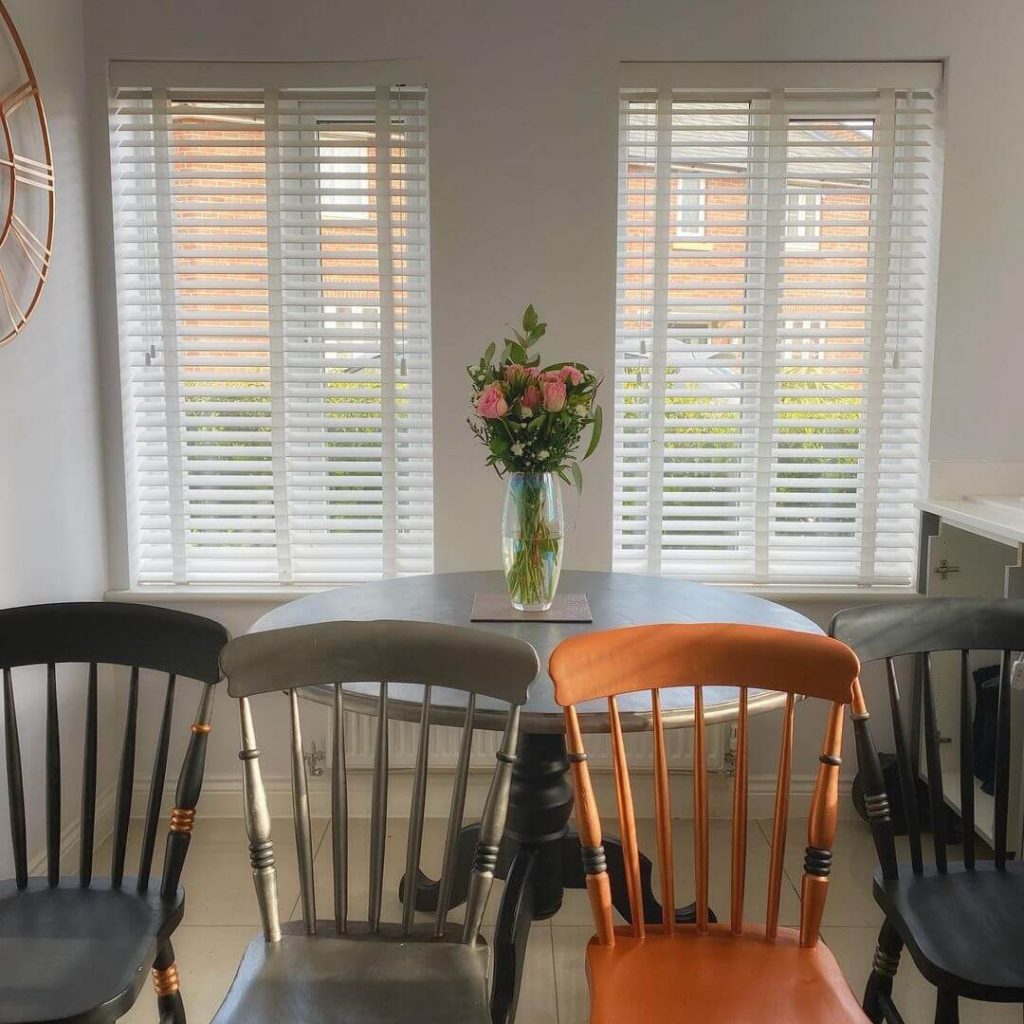
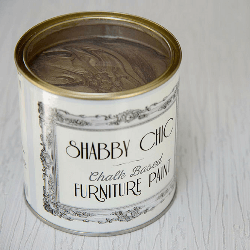
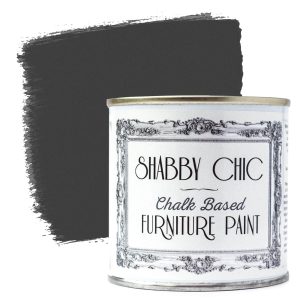
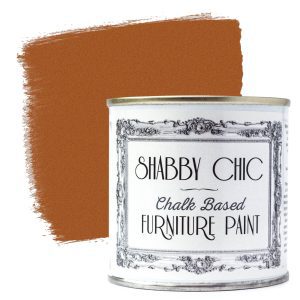
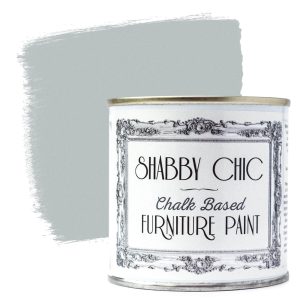
The contrast between the Antique Silver, Antique Bronze and Metallic Gun Metal paint works perfectly, proving that you can do anything with a bit of imagination and a bit of paint. We can’t believe this was Laurens first project. She’s a natural!
-
 Metallic Gun Metal Shabby Chic Furniture Paint£6.60 – £22.80 incl. VAT
 -
 Antique Bronze Shabby Chic Furniture Paint£6.60 – £22.80 incl. VAT
 -
 Antique Silver Shabby Chic Furniture Paint£6.60 – £22.80 incl. VAT
How To Give Your Chairs Some TLC
We mean it when we say that absolutely anyone can achieve upcycling results like Lauren’s. All it takes is a bit of high-quality paint and furniture that could do with a refresh.
There’s a reason why so many people choose to use our Shabby Chic Furniture Paint when upcycling furniture. It’s super easy to use, and thanks to its richly pigmented formula, it doesn’t need a primer or undercoat.
If you want to take on a similar project to Lauren, here’s how to use our furniture paint:
1. Sand And Clean Your Chairs
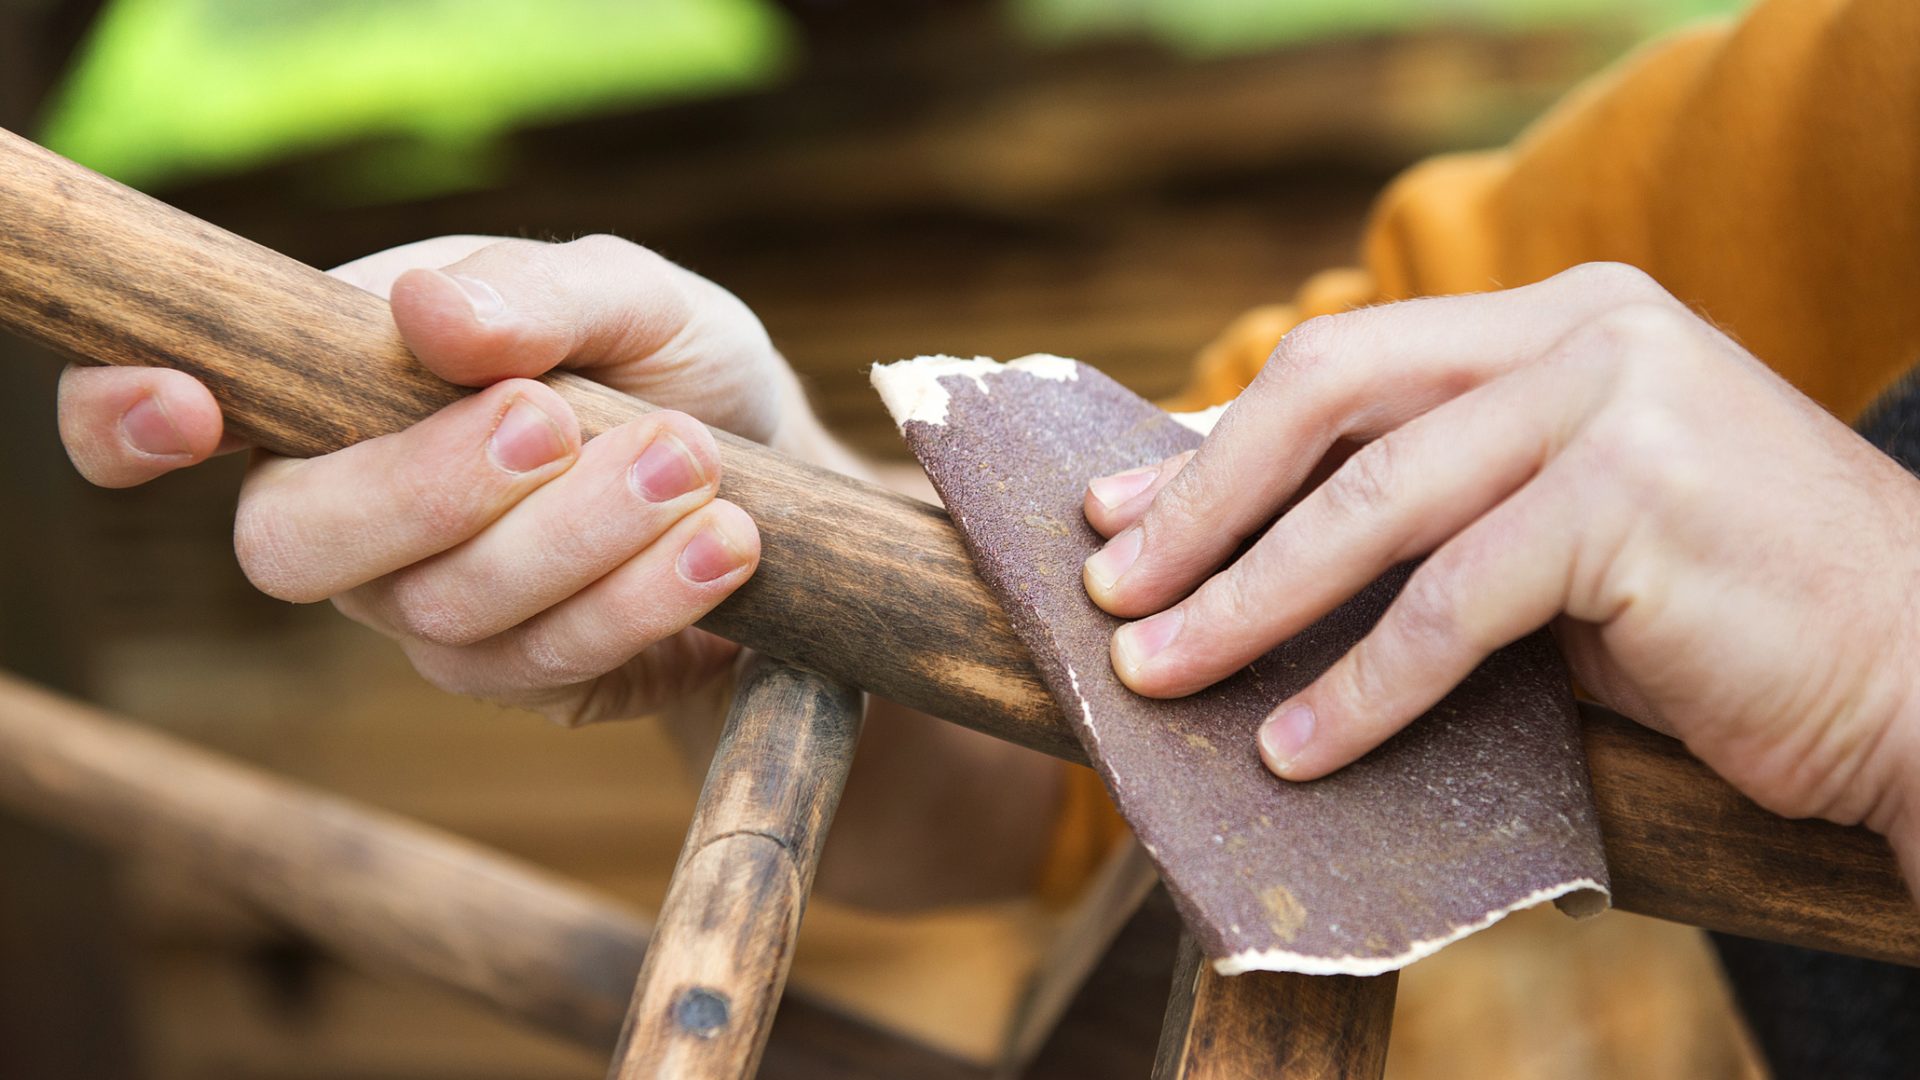
The Shabby Chic Furniture Paint works best on chairs that are smooth and clean. Although Lauren admitted this was her least favourite part of the upcycling project, it helps to achieve the best results possible!
If your chairs are made from bare wood, sand them down until the whole surface is even. Then, clean the entire chair, ensuring it is free from wax or oil. A small splash of white spirit works best when trying to get rid of wax.
2. Apply The Paint
Now it’s time for the part that Lauren loved so much. Painting!
Stir your pot of Shabby Chic Furniture Paint thoroughly, until the colour is properly mixed. Then, grab your brush or roller and apply the paint evenly to your chair. If you wish to create the famous shabby “distressed” look, apply two coats in contrasting colours. Once dry, abrade the grain of wood with moistened sandpaper.
3. Protect With Wax
As your chairs are going to be getting a lot of use, doing all you can to protect them is a must. To keep them looking brand new for months to come, we highly recommend applying our Shabby Chic Furniture Wax to finish. This wax adds a sheen finish to your upcycle, while protecting the chairs through wear and tear.
Fancy Showing Off Your Upcycling Projects?
There’s nothing we love more than seeing all your upcycling projects come to life. We’d absolutely love to see your creations – don’t forget to tag us on social media or contact us with the finished results!
