How To Paint Wicker Furniture Shabby Chic Style
Painting wicker furniture Shabby Chic style can be tricky if you’ve never done it before.
Why?
Well, the seemingly infinite amount of nooks and crannies in wicker present a problem to even the most seasoned upcycler.
The trick is getting the paint into the nooks, without ending up with splodges of paint everywhere.
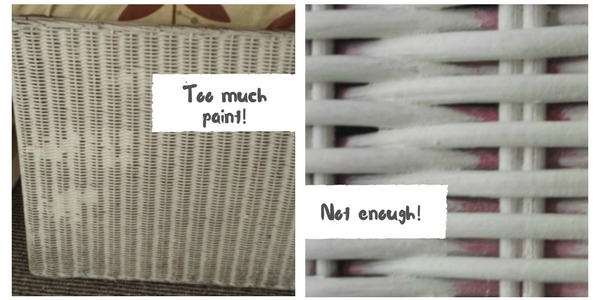
While a good solution to this is spray paint, it can leave streaks of colour on your furniture, especially if you don’t buy enough spray cans. See the example below:

While it’s not a problem if you have many cans of paint, the point of upcycling your wicker furniture is to save money!
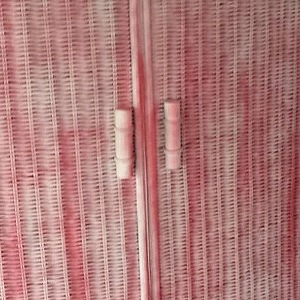
So we’re going to show you how one of our customers, Sandi Ellis from Essex, tackled her wicker wardrobe with just 1 Litre of our Shabby Chic paint.
Preparation!
You will need:
- 1 Litre tin of Shabby Chic paint – in your desired colour
- A paint brush
- Newspaper
- A hoover
- Sand paper
Put down some newspaper under your furniture.
This will save getting drops of paint on your carpet, and when you’re done you can just fold the paper up and throw away the mess.
Step 1 – Prepare Your Furniture
Sand off any flakes of paint that are coming off your furniture and use a hoover to get rid of the excess dust that remains.
A damp cloth will work too, but the hoover will get all the dust out of the cracks, where a cloth might miss. If you like, you can wipe over your wicker furniture with a lightly dampened cloth when you’ve hoovered it, but make sure it’s not wet when you start painting!
Step 2 – Paint
It’s time to apply your water-based chalk paint. If you’re using Rainbow’s Shabby Chic Furniture Paint, there’s no need for a primer, you can just start painting right away.
Here’s why wicker furniture is difficult:
If you just whack on a load of paint, then you’ll end up with splodges of colour that fill in the gaps in the wicker. But, on the other hand, if you choose just to brush over the wicker, you’ll miss the small gaps – see the image below:

To avoid this, apply a healthy amount of paint and start to dab it onto the surface. Be sure to brush over the area to get into all of the small gaps.
Step 3 – Let It Dry
Let your wicker furniture dry for a couple of hours. The paint will be touch dry within an hour, but we recommend leaving it at least two (or even three, depending on how many coats of paint you applied)
Step 4 – Distress
Time to give your wicker furniture Shabby Chic style by distressing it! Or you can leave the furniture as it is for a modern look.
Rub some medium grade sand paper over the edges and areas that would naturally accrue scratches over time. Remember, start small! You can always rub more paint off, but if you go ahead and take too much off it’s going to take twice as much time to paint it again!
Do a little bit, then stand back and look at the furniture from a distance. Keep doing this until you’re happy with the finish.
You’ll also want to check to see that you’ve got good coverage. If there are any cracks where you’ve not managed to fill in with paint, now’s the time to go over them with a small paint brush!
Step 5 – Enjoy!
Enjoy your Shabby Chic wicker furniture and share it with the world! Send us your pictures to info@rainbowchalk.com and we’ll feature your project in our blog!
Start Your Wicker Furniture Shabby Chic Project
A 1 litre tin of our Shabby Chic paint goes a long way, covering up to 12m2 of furniture!
You can add a tin of Shabby Chic paint to your basket today by using the product boxes below:
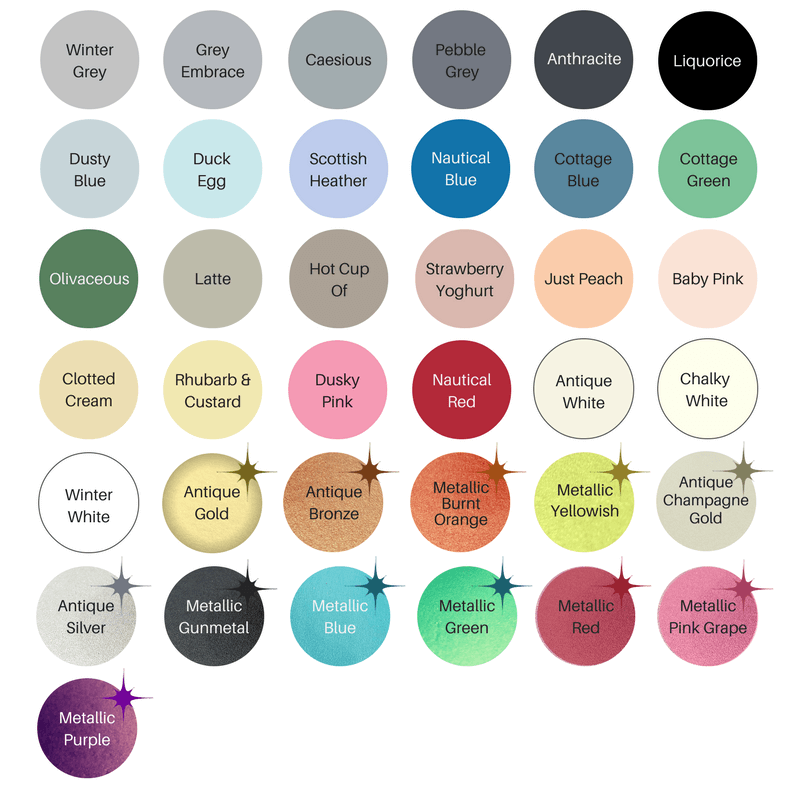
We have 37 gorgeous matte and metallic shades – just scroll past the product boxes to view our colour chart!
FIRST TIME BUYERS GET 10% OFF WITH DISCOUNT CODE – ftb10 – ENTER AT CHECKOUT

INTERIOR SHABBY CHIC PAINT COLOURS
